
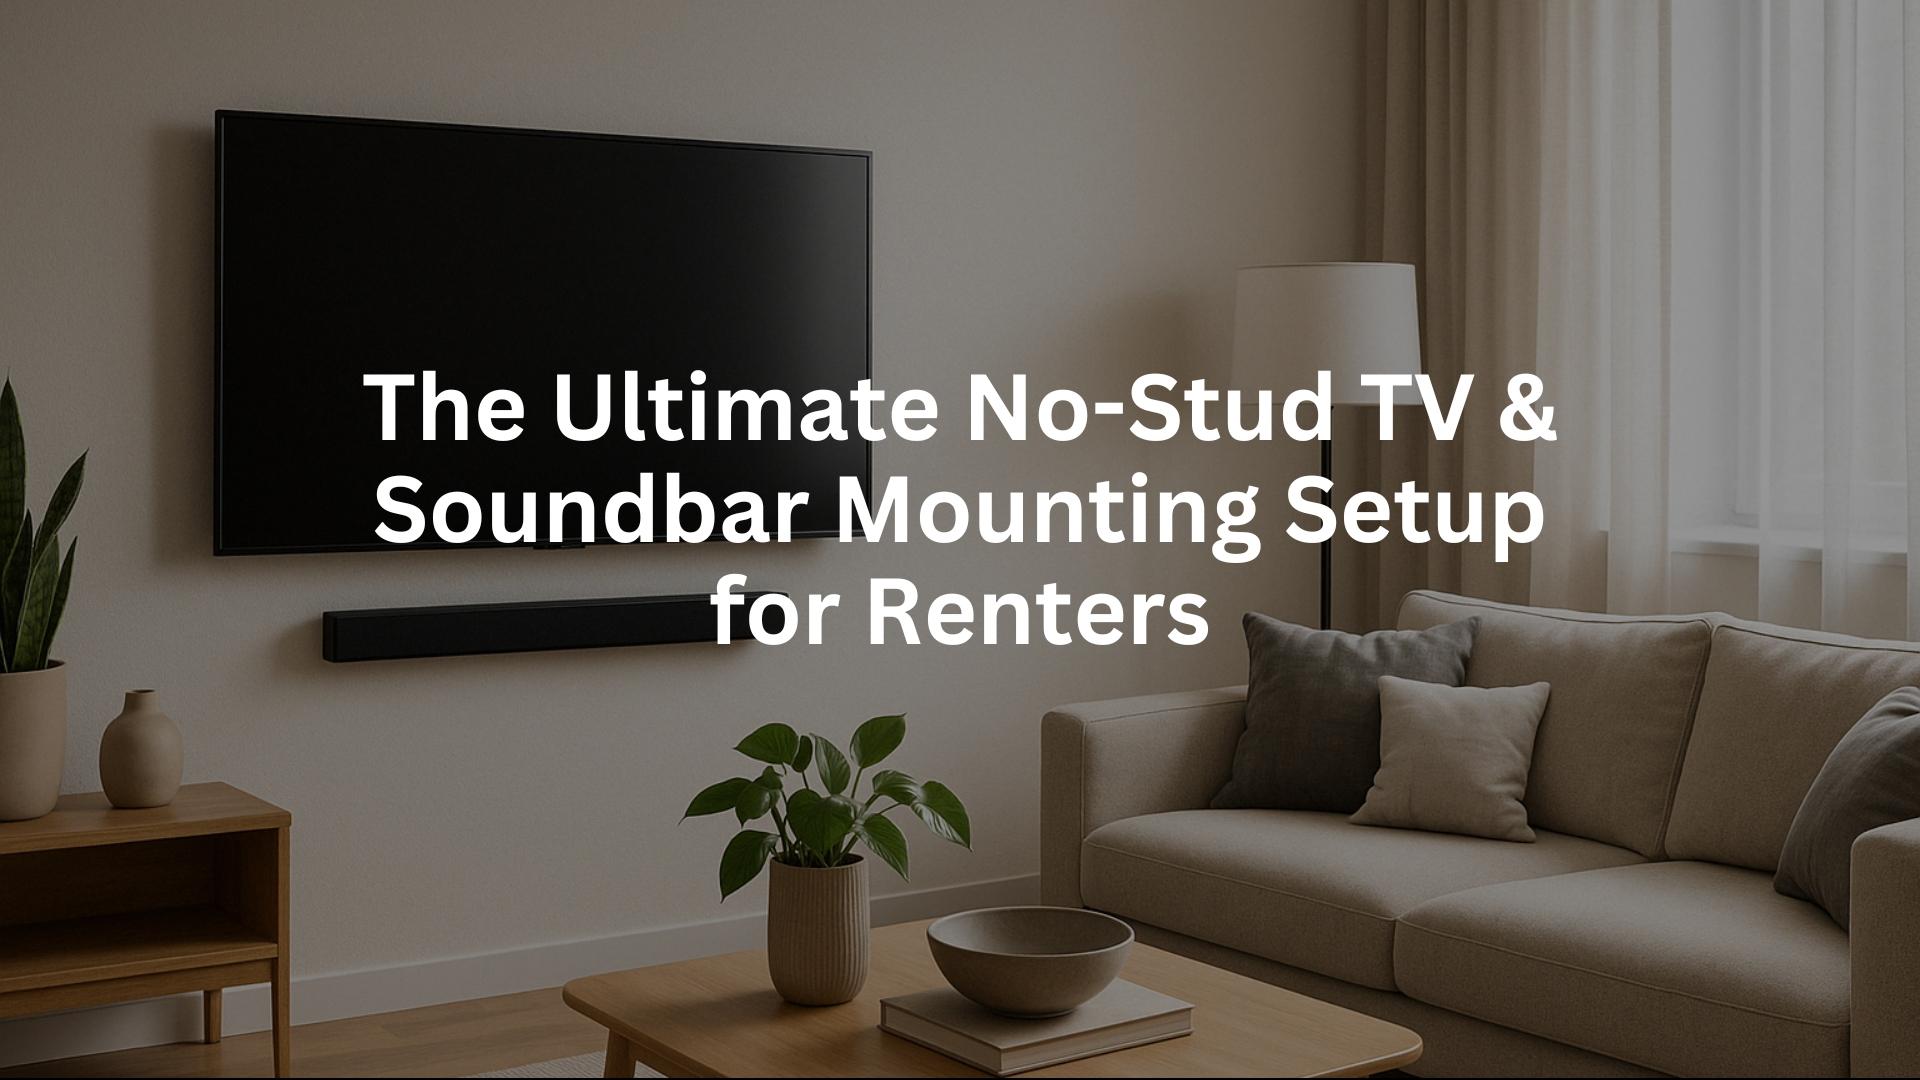
The Ultimate No-Stud TV & Soundbar Mounting Setup for Renters
If you’re in an apartment, condo, or just don’t want to drill holes every time you change your mind, mounting a TV and soundbar can feel like a headache. Renter’s anxiety, am I right? But here’s the good news: you don’t need a power drill, a stud finder, or a contractor to get a sleek, stable setup. Let me show you how.
Why No-Stud Mounts Matter for Renters
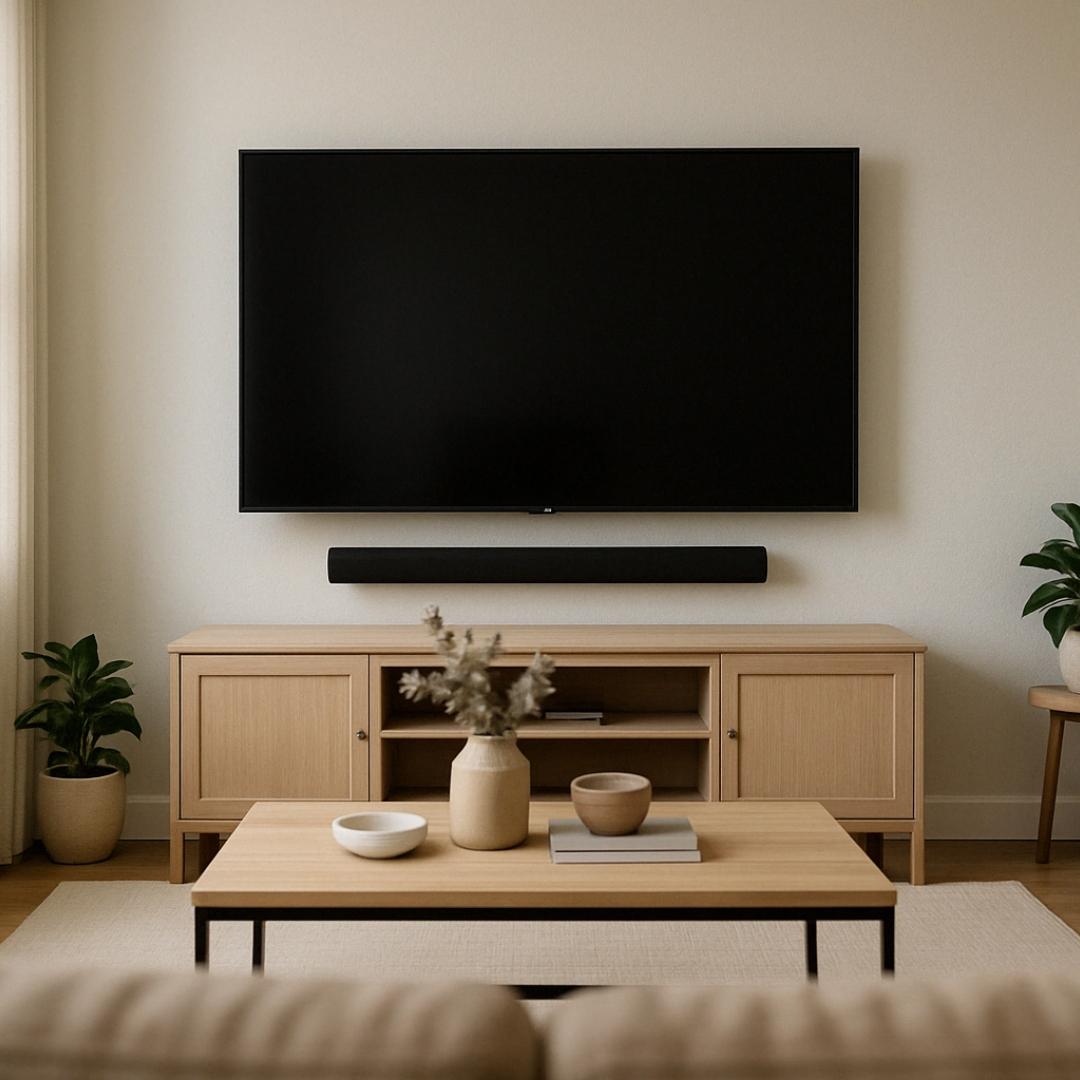
When you rent, every hole you make is a potential deposit deduction. Landlords can be… particular about wall damage. Traditional TV mounts scream “giant hole problems.” No-stud mounts, on the other hand, spread weight evenly across drywall so you can hang big screens and soundbars without deep anchors.
Trust me, once you discover a true no-stud solution, you’ll never go back to patching spackle or fretting about paint touch-ups.
What You’ll Need
-
A reliable no-stud TV mount rated for your screen size (up to 100" / 150 lbs).
-
A matching no-stud soundbar mount that fits your soundbar dimensions.
-
Simple hand tools (screw driver and hammer).
-
Cable covers or zip ties to keep cords neat.
That’s it. No fancy gear, no stud finding, no messy repairs.
Step-by-Step: From Box to Wall
1. Plan Your Layout
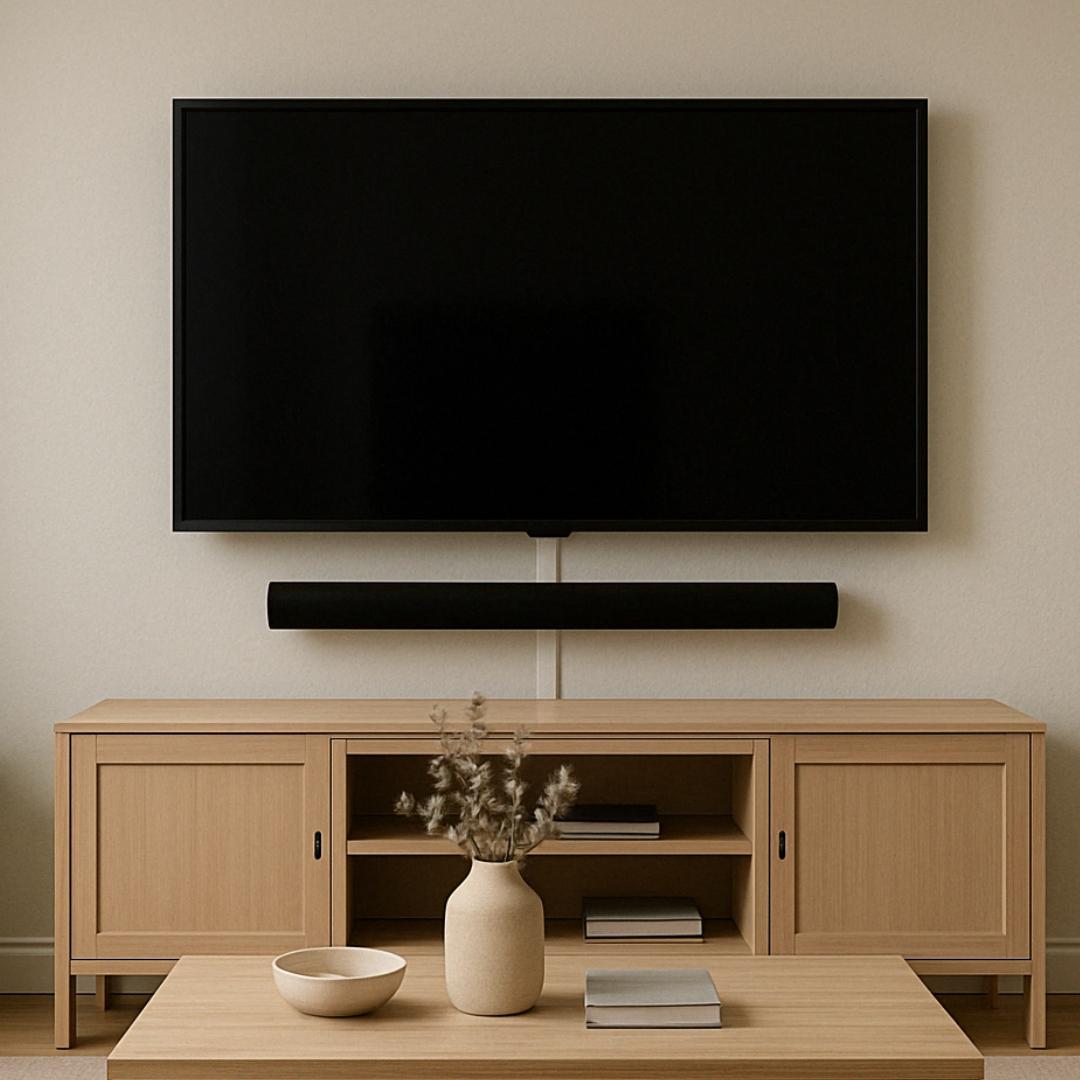
Take a quick look around. Where’s the optimal viewing height—eye level from your couch? Will the soundbar sit just beneath the TV or float a few inches lower? Grab painter’s tape and make visual markers so you don’t guess later.
2. Assemble the Mounts
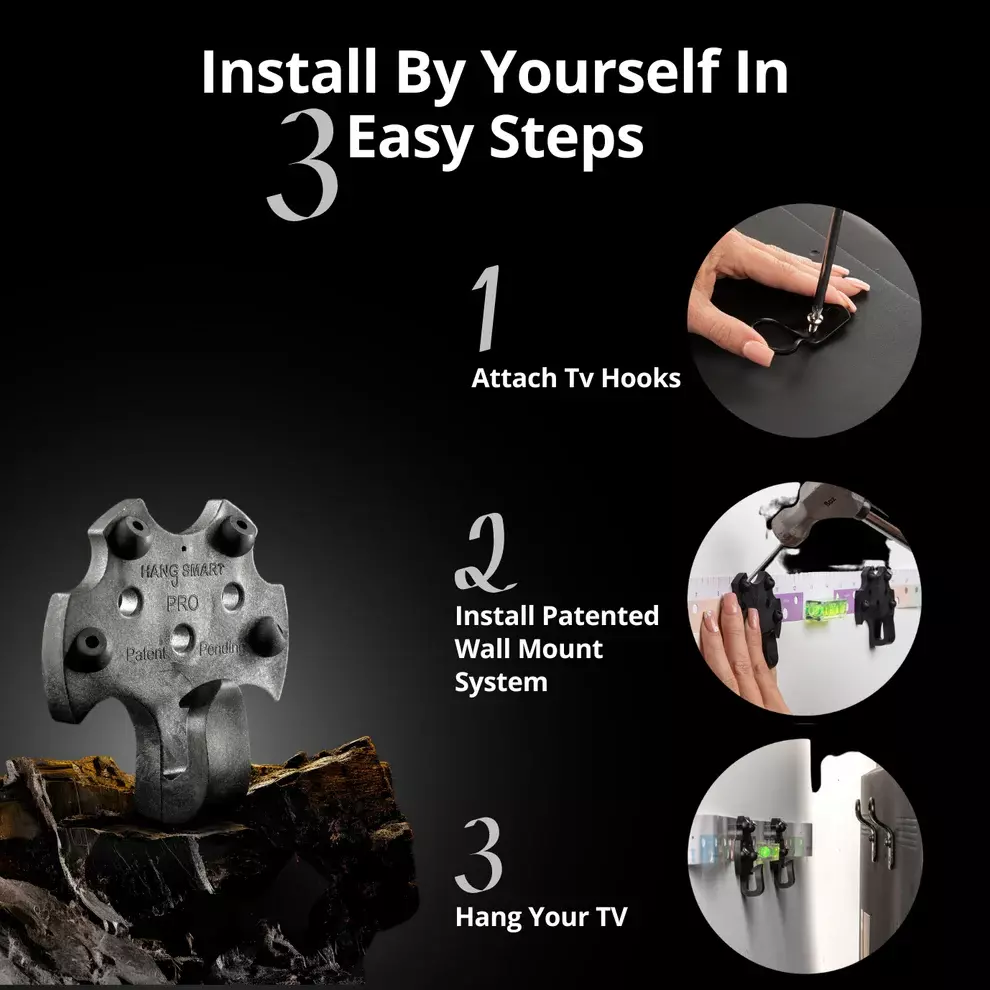
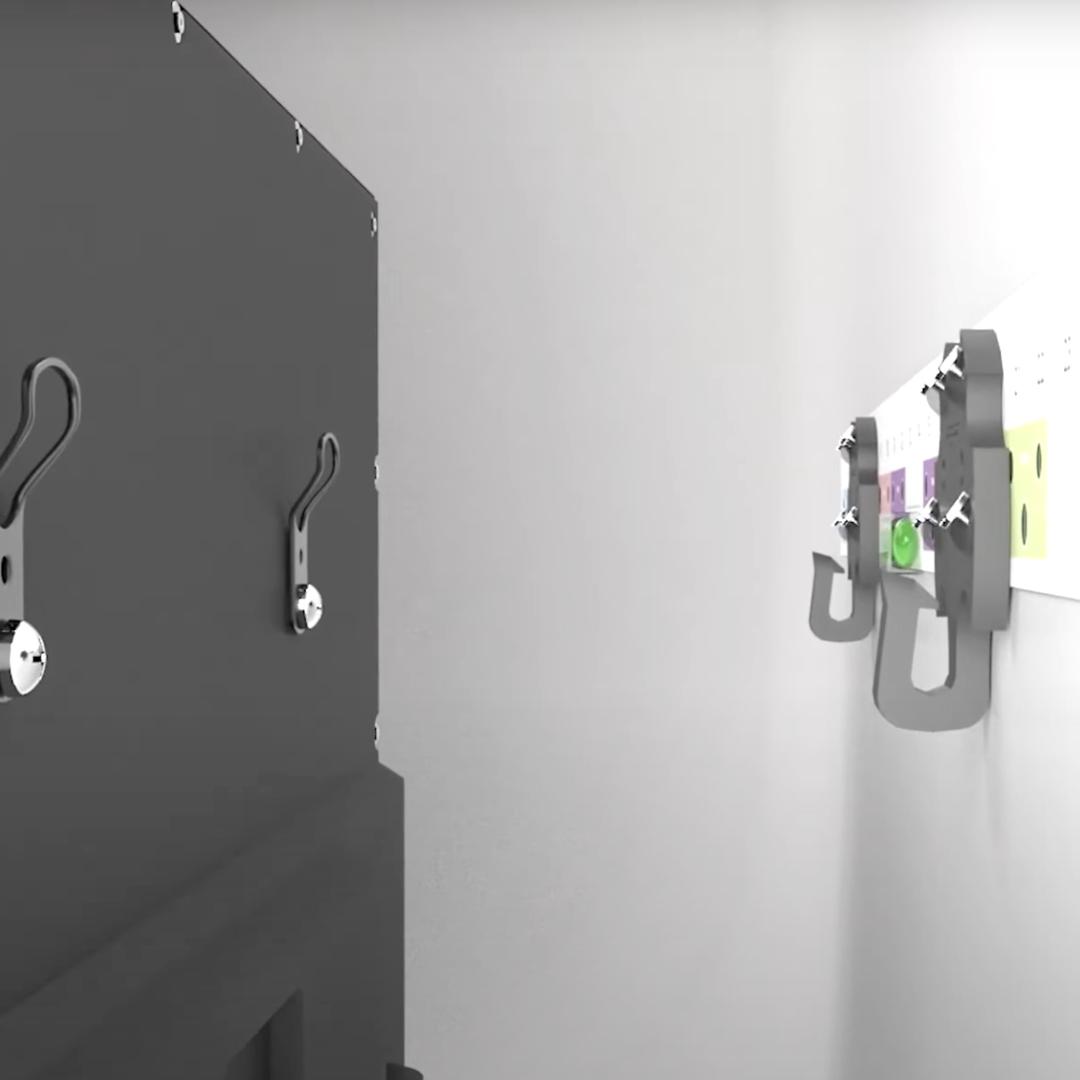
Most no-stud mounts arrive partially assembled. Follow the instructions to pop on the brackets and line up the mounting hardware. HangSmart’s mounts, for example, include a color-coded guide that snaps right on—no measuring mistakes.

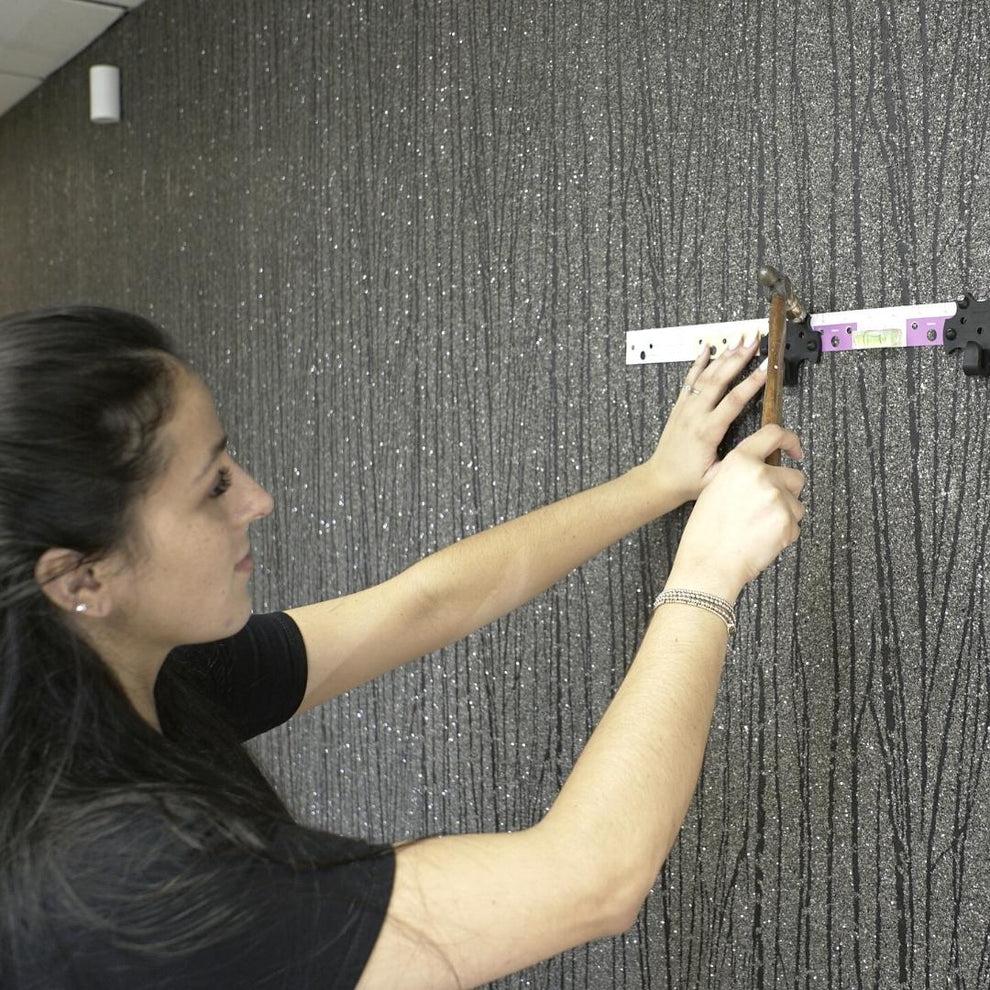
3. Mark and Press
Use the guide as your template. Mark the placement points with your color guide. HangSmart has a great "How To" video on how easy it is to mount using their unique color guide system. Then, add the TV mount hooks over the color on the guide and gently tap the nails into the drywall.
4. Hang the TV and Soundbar
With two people (for safety), lift the TV onto its hooks. Give it a firm press to confirm engagement. Repeat for the soundbar mount. Adjust the shelves in or out until everything looks perfectly centered.
5. Tame Those Cables
Don’t let loose wires spoil the view. Use paintable cable covers for a near-invisible run down to your outlet. Or bundle cables with zip ties and tuck them behind furniture. Either way, it’s night-and-day cleaner than a jumble of cords.
Pro Tips for Renters
-
Check Wall Conditions: Avoid damp or recently patched areas. Drywall that’s spongy or cracked won’t hold as well.
-
Test Before You Commit: Hang something lighter—like a weight bag—to ensure the mount feels secure before adding your TV.
-
Level Twice: Even a slight tilt can drive you nuts. A small bubble level is worth its weight in gold. Luckily, HangSmart has that built into its unique color guide system.
-
Keep the Guide Handy: If you move or even upgrade your TV to a different size, you can reinstall the mounts elsewhere without extra holes. Just reuse the same mounting pattern.
When It’s Time to Move Out
Removing a no-stud mount is surprisingly simple. Pull the nails straight out of each hook using a plier, and you’ll be left with tiny pinholes you can almost patch in seconds. HangSmart has a great video showing how to safely remove (and even re-install) their No Stud DIY TV Mount. Slap on a dab of spackle, paint, and your walls look good as new.
There’s zero drywall demolition and zero second-guessing.
Final Word
Renters deserve great looking home entertainment setups without landlord headaches. Wall-mounted TVs and soundbars no longer require studs or power tools. With the right no-stud mounts—like HangSmart’s popular TV and soundbar solutions—you can achieve a polished, damage-free install in under an hour.
So go ahead: free up floor space, streamline your wires, and enjoy a cleaner, more modern look. And when it’s time to move? Simply pop the mounts off and walk away—deposit intact.
Happy mounting!
Who wouldn't want the easiest way to install their TV while saving money from having to hire a handyman?!?
Shop HangSmart Today!
Check Out How It Works!
Thank you for being a fan!
Shop
Info
Questions
Follow Us